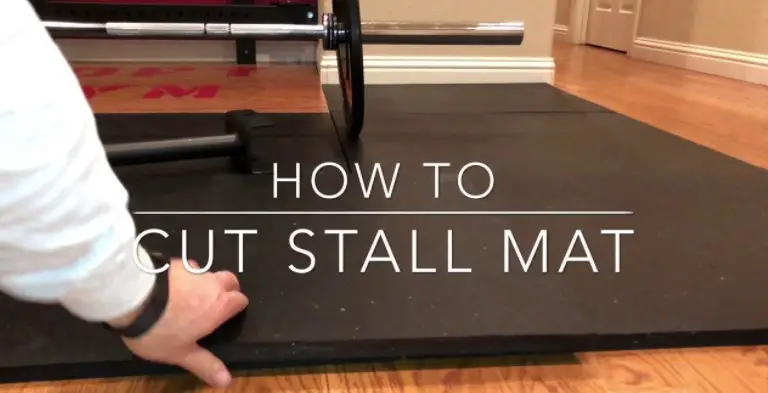
Using horse stall mats is a great way to protect your horses from injury. Firstly, the mats minimize the risk of slips that can damage your horse’s joints. Also, the mats are as tough as concrete, forming an excellent base for horses. In addition, you won’t be worried about trapped hooves by flooring your stable with these mats. But how to cut horse stall mats correctly can be challenging if you don’t know the proper steps.
Cutting horse stall mats can be tricky. It is made of runs that are as thick as rubber. Therefore, you face the risk of damaging the blade by using too much pressure. Also, using power tools such as skill saws can ruin the edges. With these tools, you will cut raggedy or melted edges that compromise the mat’s value and function.
But, it is really easy once you understand the process. Here are the best steps to follow;
Safety first – to avoid getting injured, don’t forget to wear your gloves. Also, ensure there is no spill in your workspace that can cause you to slip.
Step 1: Choose the Right Tools
Before jumping in and getting your hands dirty, be ready with the right tools for the job. The tools you need include:
- A tape measure
- Utility or carpenter’s knife
- Long straight edge, like a “T” Square
- 2 x 4 board
- Chalk or a White-Out pen,
- Thick worker’s gloves
With these tools on hand, you’re all set.
Step 2: Measure the Stall
Next, record the dimensions of the horse stall using the tape measure. With accurate measurements, you can eliminate gaps that allow dirt into the stable. It’s advisable that you take your measurements at least twice. This is a precaution to avoid an error.
Step 3: Make your Marks
Using the t-square’s straight edge as a guide, mark the areas on the horse stall mat with chalk or a White-Out pen. Please note that you may rub off the marks while working. So it is best to use chalk which leaves vivid impressions, compared to the white-out pen.
Step 4: Create an elevation with the 2 x 4 Board
Place the 2 x 4 board underneath the portion of the horse stall mat that you’ll cut. The purpose is to raise an area underneath the mat, making it easier for you to make the cuts. Please ensure you cut along the marked areas. Also, note when the rubber on the opposite side folds over due to gravity. Be steady, so you get a perfect cut.
Step 5: Cut Slowly
Though you can use different types of edged tools to cut horse stall mats with varying results, you honestly can’t go wrong with a trusty utility blade. To begin, place the straight edge in a parallel position, up against the guidelines you made with the chalk. Alternatively, use a carpenter’s knife.
Next, using the utility knife, cut through your markings along the straight edge. You want to make a slow sliding motion from one end to the other, which you’ll repeat each time you reach the other end. Please ensure the knife does not curve downwards because that can cause the blade to break.
The cut should get deeper as you continue to score the rubber until the mat comes away from the straight edge, leaving a smooth edge.
Admittedly, this is a slow and steady way of cutting horse stall mats, but it’s many times more effective than using power tools that end up burning the rubber.
Conclusion
If you made it to this point, good for you. You now know how to cut horse stall mats. Always buy only the best horse stall mat materials for durability. With the right tools, proper technique, and a little bit of patience, you will become more confident at it, with impressive results.
